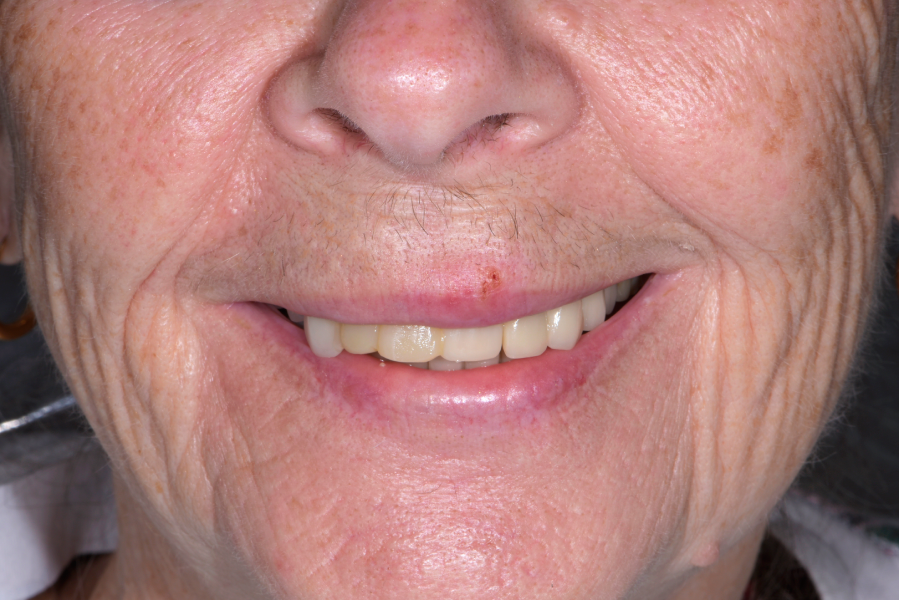
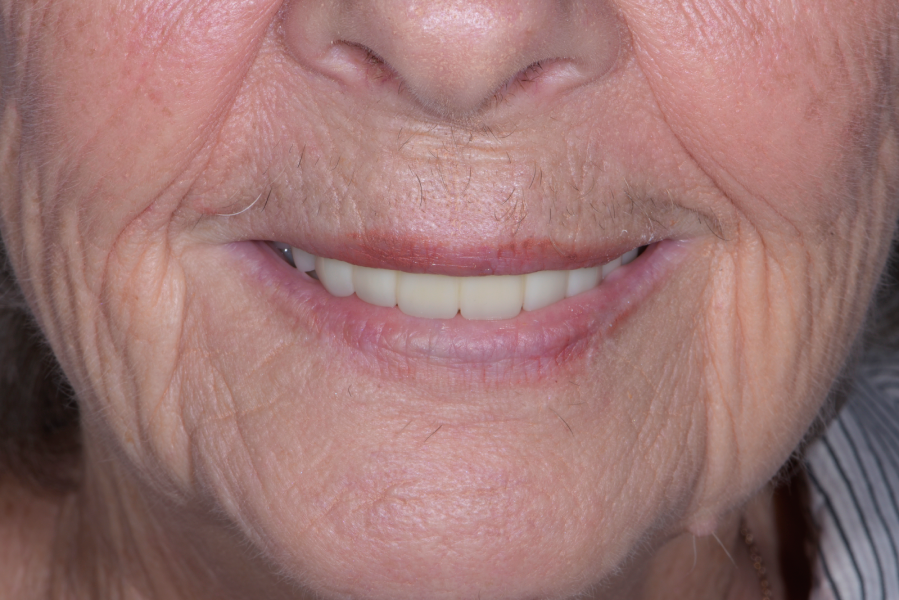
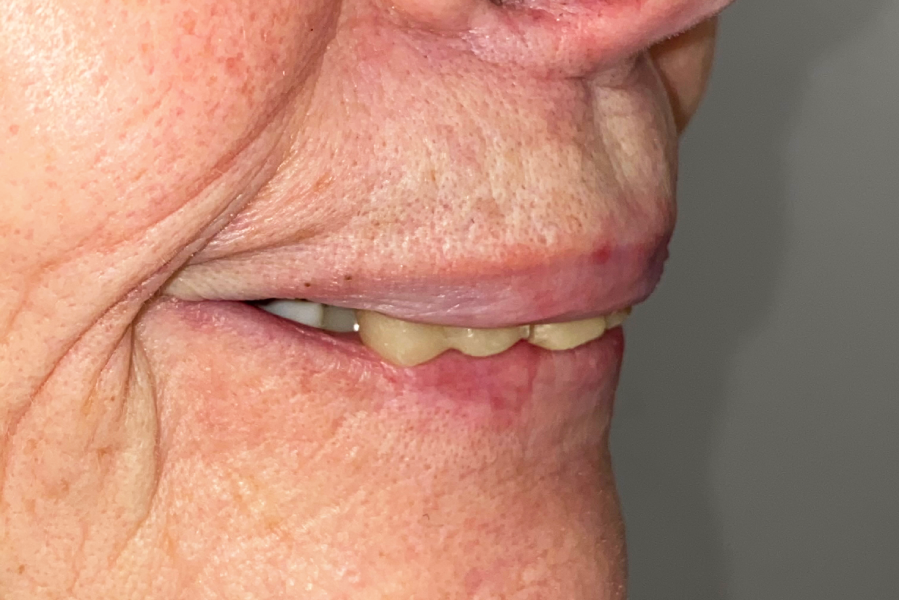
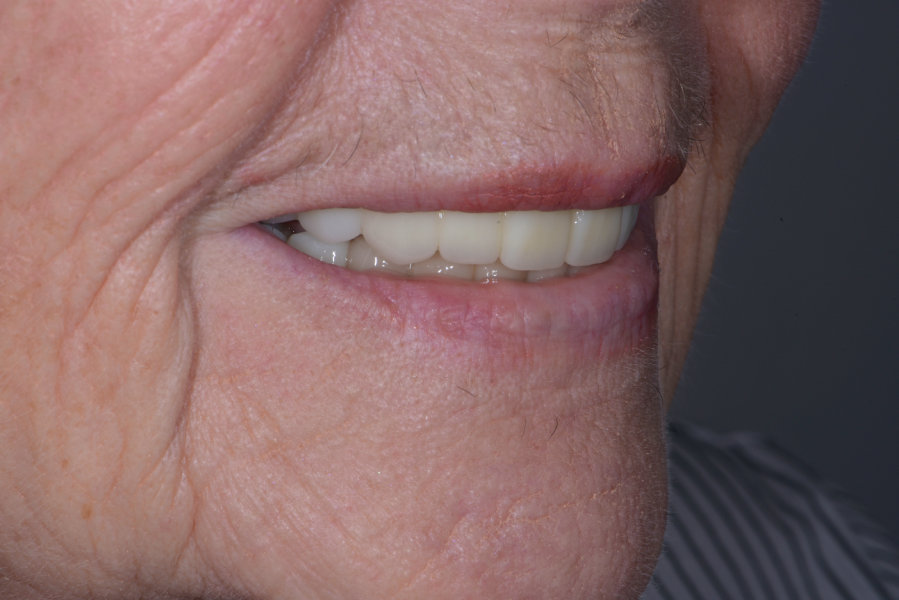
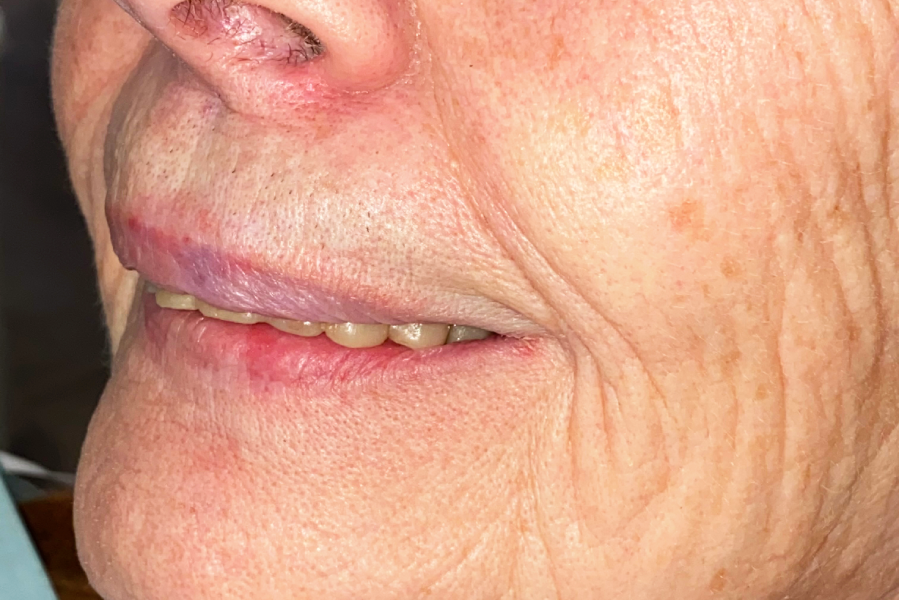
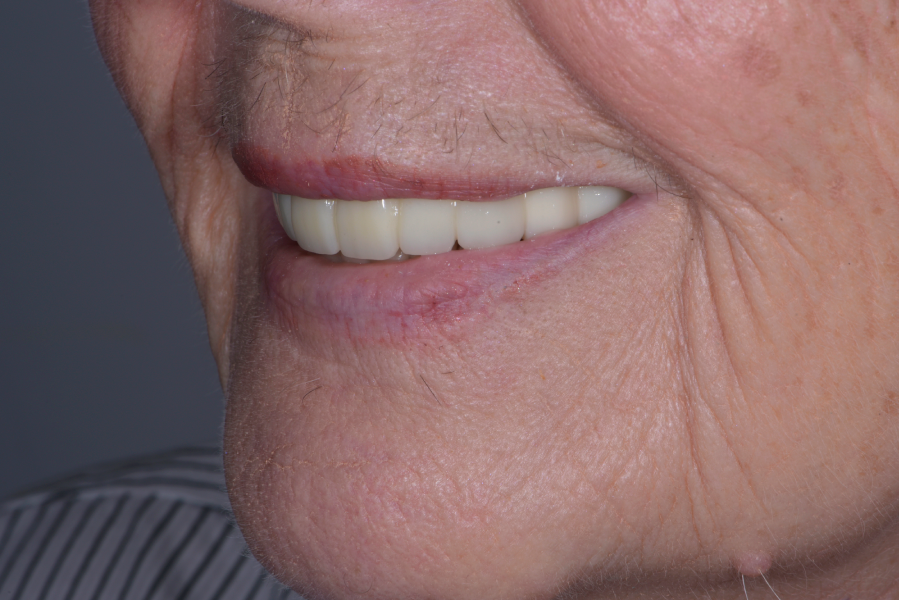
Patient 4
Bridges
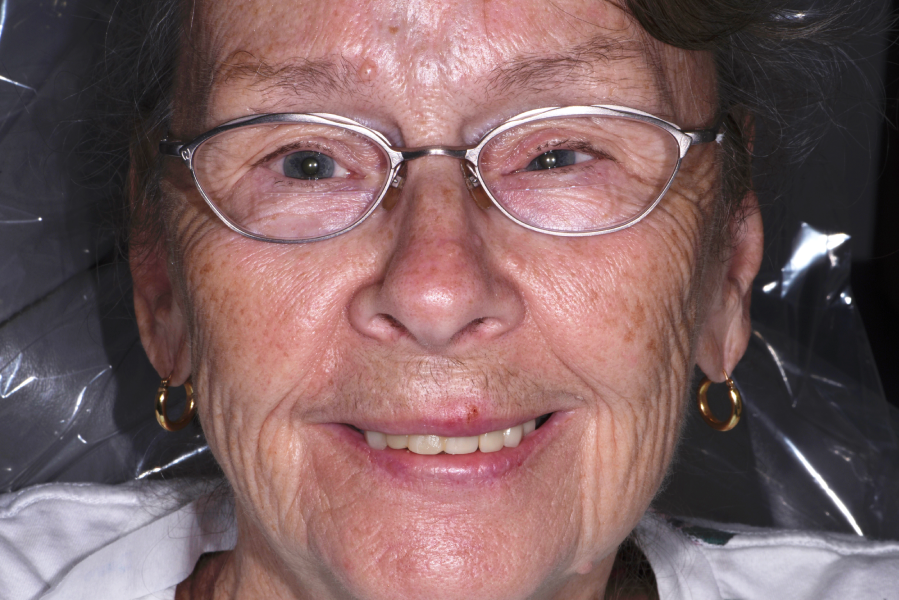
Before
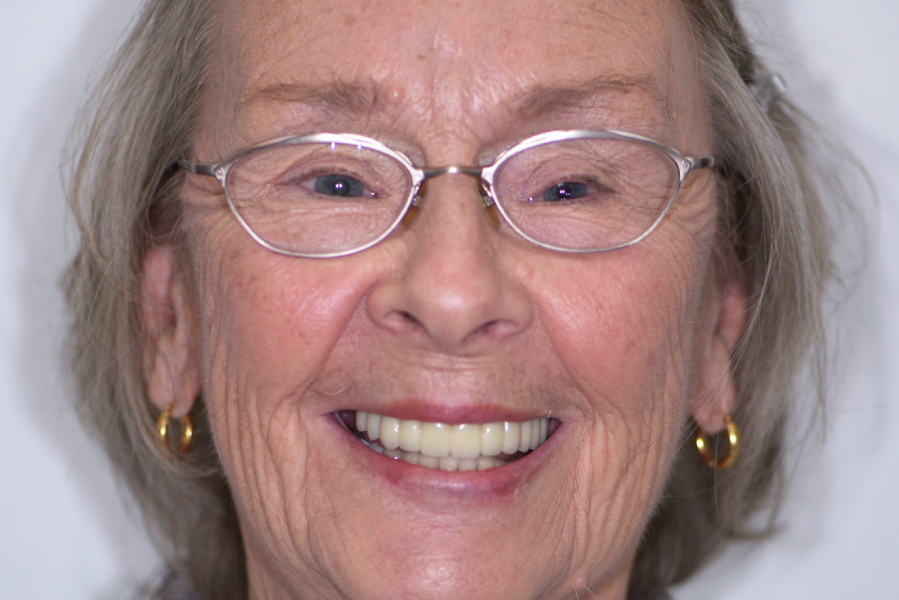
After
Before
After
Before
After
Before
After
Implant Supported Full Arch Bridge
Implant Supported Full Arch Bridge